The first step was to find a pavilion that looked relatively generic and not too big. I eventually found a nice simple pavilion but didn't like the front of the building, so a bit more researching and ending up finding a bowls club pavilion that had a veranda that would look the part, so back off to the laptop and welded the two designs together. While I liked how it looked it needed a few extras which meant designing the scoreboard, screens, stumps and bats, and this is what I got:

It was time to send it off to the laser and wait for that satisfying BEEP to tell you that it has finished working its magic.
Time to build:
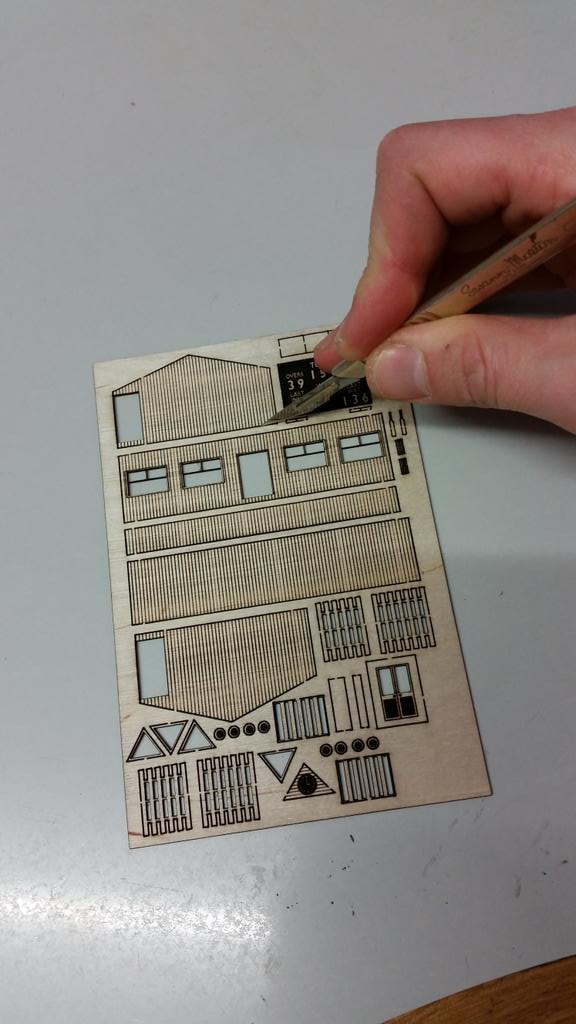
The first step was to remove the pieces, I had designed it so there are tiny tags holding the pieces in place, simply nip these with a knife (tip: turn the fret over to do this as you can see where the tags are)
This is a pretty simple structure to put together, glue the 4 sides together to give you a basic box (we like to use the rite-way modelling tool to give you a square corner: http://www.osbornsmodels.com/faller-170681--rite-way-modelling-aid-29768-p.asp), because these are made of ply any wood glue should be fine, we personally use UHU Holzleim http://www.osbornsmodels.com/arch-laser-fast-setting-glue-35750-p.asp it doesn't leave marks on the wood and dries nice and quick to let you get the build done a bit quicker. Add the veranda floor and you should be at this stage below:


The roof and veranda are made out of card, firstly most people will want the veranda to be white so no need to do anything with it, just glue in place and secondly the card allows greater detail of cut allowing us to create a finer veranda. The clock part is separate and doesn't need to added unless you want to.

The screens are easy to assemble and the scoreboard just needs the feet gluing on (the score can be customised to any score you like, just let us know when ordering). Now all you need to do is paint the roof, make the pitch and turn on test match special


Kit available at www.osbornsmodels.com
Looks good - except the oval is way too small! Given that a pitch is 22 yards (or 66 feet) that will scale out to 132mm @ 2mm:ft. Add to that the run up and you're looking at quite a big area for the whole ground.
ReplyDeleteThanks for your comments, the pitch is just a display item to show the pavilion kit in context, not done to exact scale but to fit a Woodland Scenics grass sheet, so was a bit limited by the size of boundary
ReplyDelete